Krystal Sala is my fitness coach and kickboxing instructor. She is really hard working, she goes to college and does 2 jobs. She is taking a break from 9 round to relax a bit. Hey Krystal, Wish you all the best for the future.


Krystal Sala is my fitness coach and kickboxing instructor. She is really hard working, she goes to college and does 2 jobs. She is taking a break from 9 round to relax a bit. Hey Krystal, Wish you all the best for the future.
Follow below steps to run dynamodb locally# pull image from docker hub provided by AWS – https://hub.docker.com/r/amazon/dynamodb-local/
docker pull amazon/dynamodb-local# run imagedocker run -p 8000:8000 amazon/dynamodb-localHit this url on browser to test dynamodb is working
You do not have to clone every developer’s fork or repository and then checkout their respective branch in order to test the pull request locally on your dev box 😉
This tutorial will show you how to checkout a pull request on your own computer. This can be very helpful when you want to find bugs and test out new features before they get merged into the main project.
That gist does describe the config changes required in .git/config of the project.
Basically you need to add this line in config
fetch = +refs/pull/*/head:refs/remotes/origin/pr/*
which will allow you to checkout pr locally
Obviously, change the github url to match your project’s URL. It ends up looking like this:
[remote "origin"]
    fetch = +refs/heads/*:refs/remotes/origin/*
    url = git@github.com:joyent/node.git
    fetch = +refs/pull/*/head:refs/remotes/origin/pr/*
Now fetch all the pull requests:
$ git fetch origin
From github.com:joyent/node
 * [new ref]         refs/pull/1000/head -> origin/pr/1000
 * [new ref]         refs/pull/1002/head -> origin/pr/1002
 * [new ref]         refs/pull/1004/head -> origin/pr/1004
 * [new ref]         refs/pull/1009/head -> origin/pr/1009
...
To check out a particular pull request:
$git checkout <pr-id>

$ git checkout pr/999
Branch pr/999 set up to track remote branch pr/999 from origin.
Switched to a new branch 'pr/999'Hi Friends,
How easy is to create a micro service, put it behind a gateway and make it up and running as part of a full stack application ? Well its easier then it appears. I have published the video with live demo creating a micro service and making it full from a Angular UI by using aa awesome tool called jHipster. Watch it and have fun 😉
Friends,
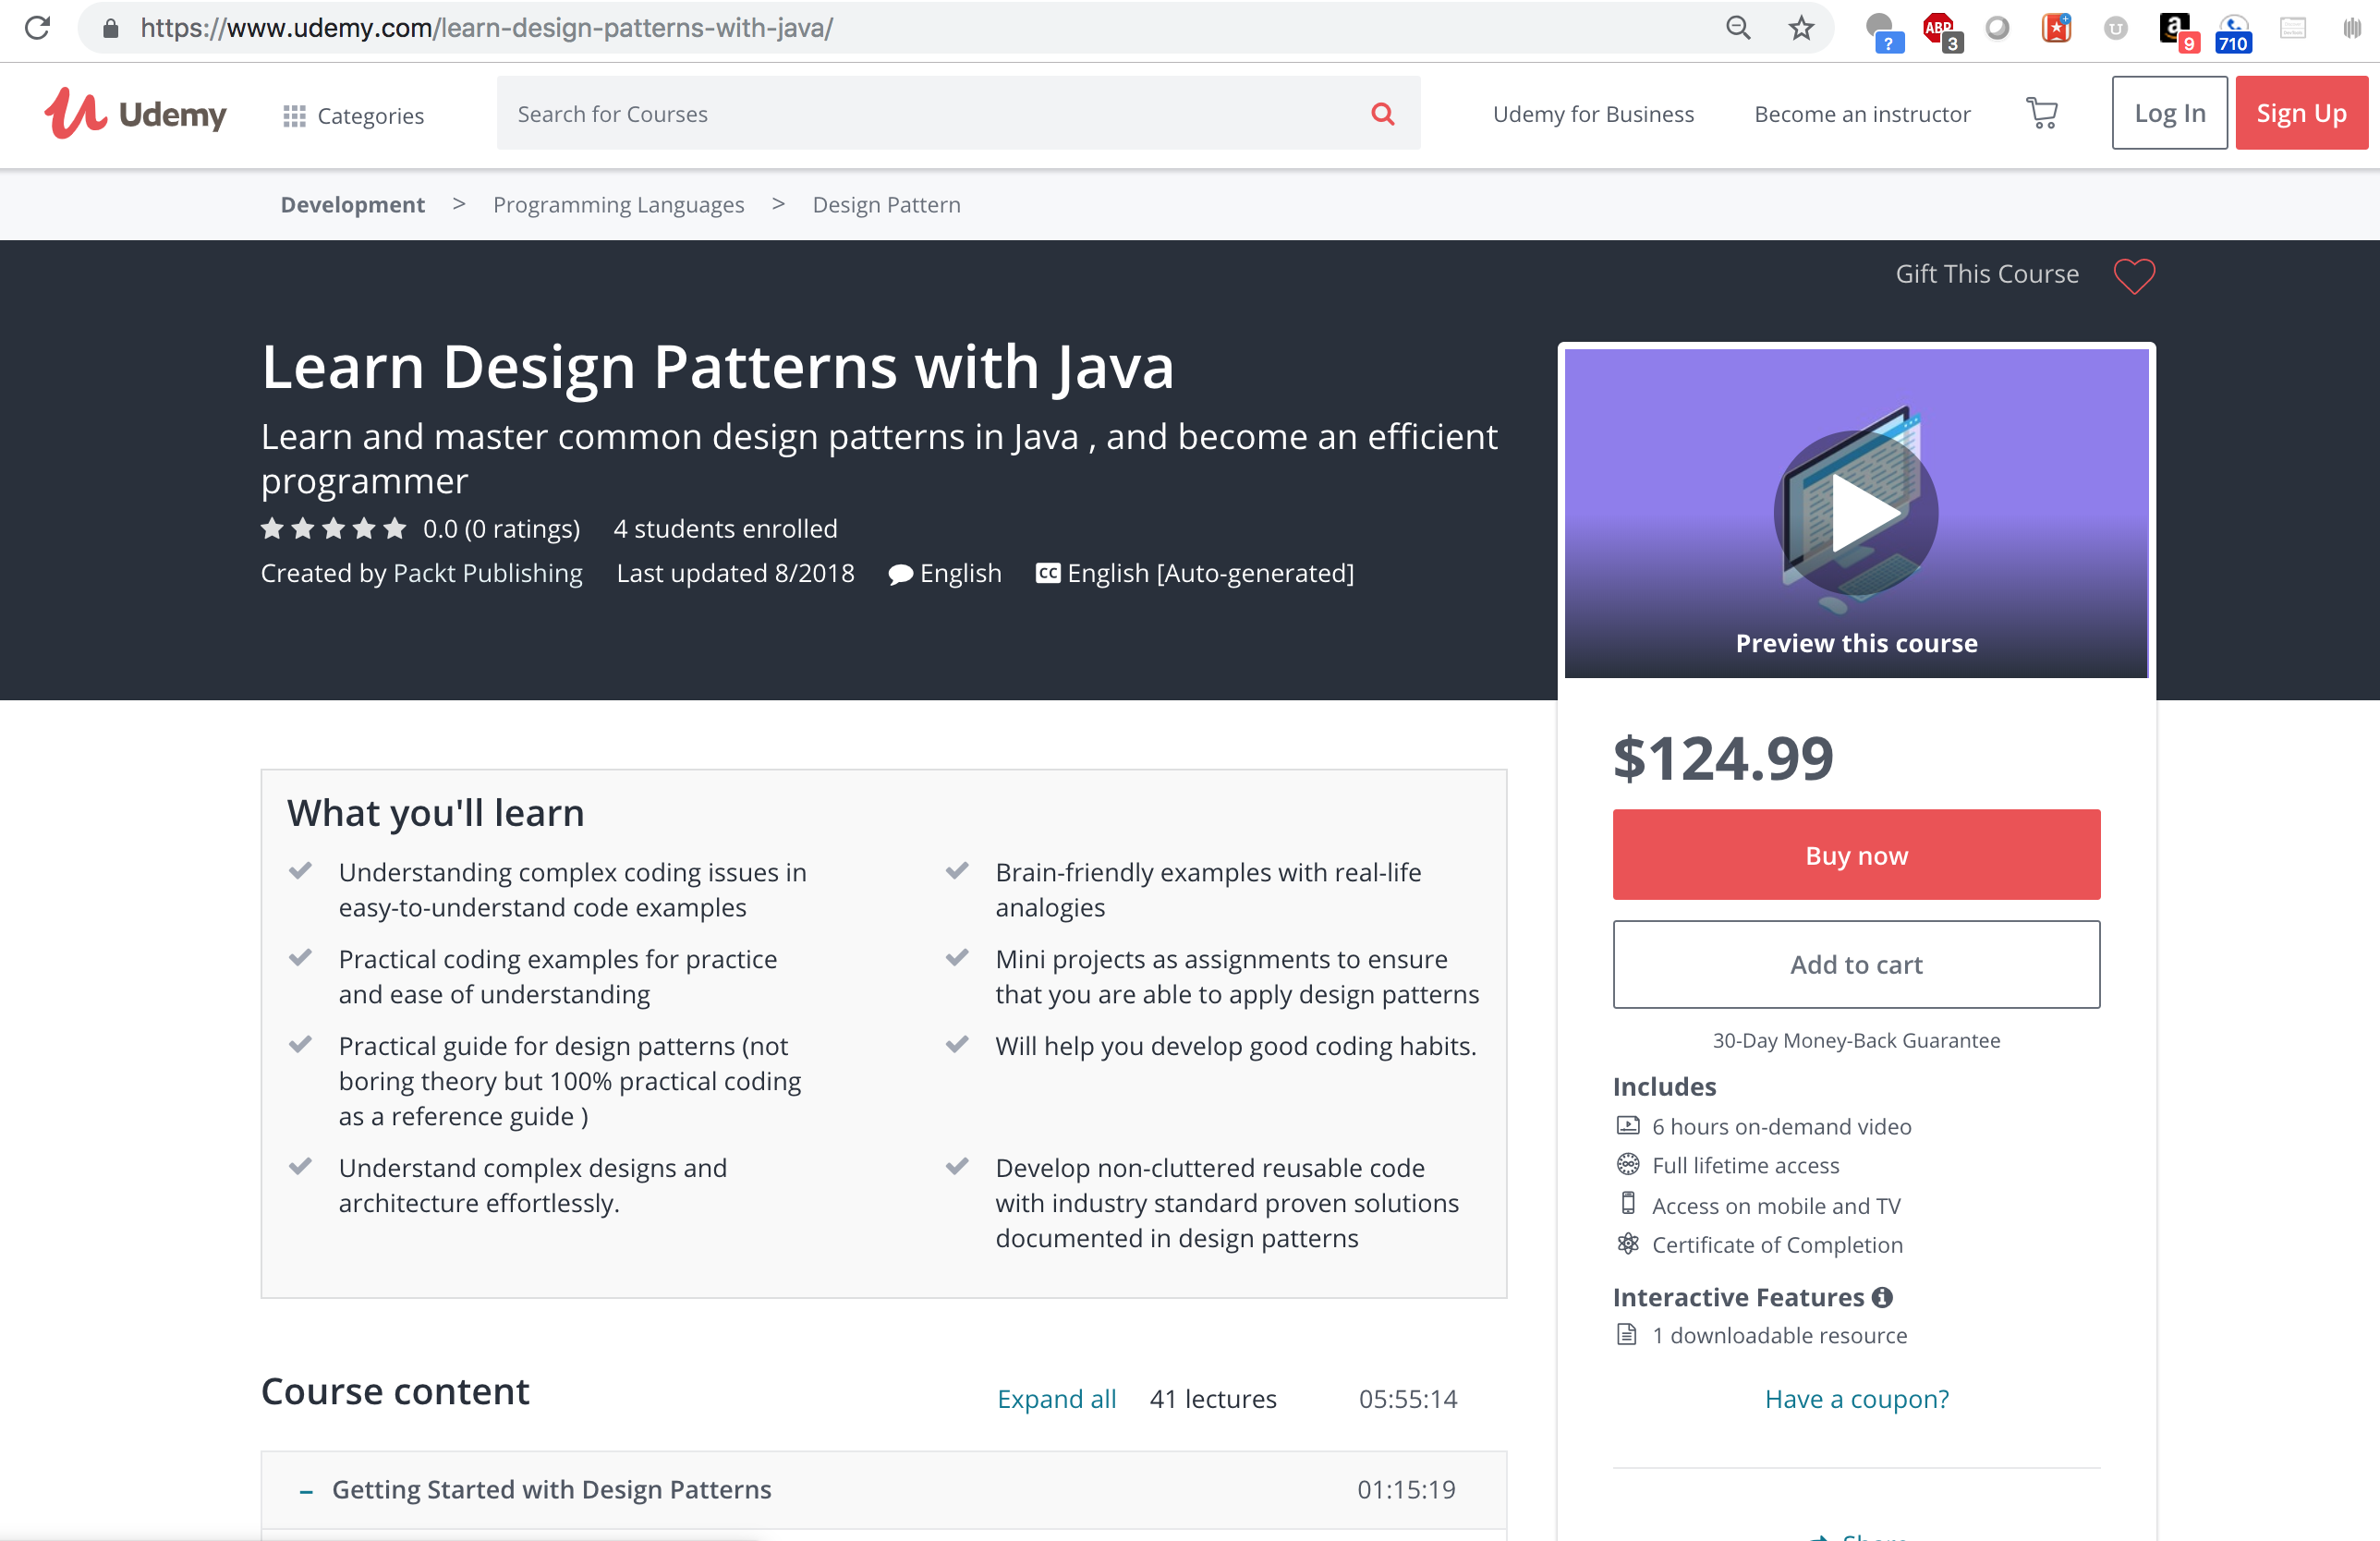
It was my deep down wish to be an instructor on Udemy platform and with Guru’s grace it got fulfilled today.
My video Book on “Learn software design patterns with Java” is now available on Udemy as on line course. Students would also get the certificate of completion once they finish the entire course.
https://www.udemy.com/learn-design-patterns-with-java/
As developers we fall into the following trap often: we focus on solving puzzles, not solving problems. What’s the difference between a puzzle and a problem?
Solving both puzzles and problems is satisfying, revealing, and educational. Solving a complex puzzle or problem can be intellectually rewarding and exhilarating. Unfortunately, puzzles are often meaningless distractions and time-wasters despite the satisfaction gained. Solving problems unblocks you and helps you accomplish your goals.
So, you’re feverishly trying to optimize your app’s search feature to make it a few milliseconds faster — is this a distracting, wasteful puzzle or a critical problem to solve? It depends! If the search feature is the most used customer feature then you might be saving the company. But, if you just stumbled upon this unused code and you remember reading a blog article a while back about a new technique and… well it just could be better and it’s annoying you then this might be a puzzle for another day.
Be a problem solver. Again, step back, get out of your own head, and ask yourself, “What am I trying to accomplish? Is this important?”
JHipster is a very powerful application generation framework to create full stack applications using Java + JavaScript. I have completed a course which has Java spring back end and Angular 4 / React front end without dockers.

This certificate above verifies that Aseem Jain successfully completed the course Angular 4 Java Developers on 09/24/2018 as taught by Dan Vega, John Thompson on Udemy. The certificate indicates the entire course was completed as validated by the student.
Its a good practice to push your pet project to github repository. Below commands will help you.
First, you need to create a project in github repo and copy its repository url which will act has your remote origin, then you need to init you local repository and link them. so that you can push them once its all set.
git init
git add -A
git commit -m 'Added my project'
git remote add origin git@github.com:premaseem/my-new-project.git
git push -u -f origin master
With this, there are a few things to note. The -f flag stands for force. This will automatically overwrite everything in the remote directory. We’re only using it here to overwrite the README that GitHub automatically initialized. If you skipped that, the -f flag isn’t really necessary.
The -u flag sets the remote origin as the default. This lets you later easily just do git push and git pull without having to specifying an origin since we always want GitHub in this case
In this guide we’ll learn about the Dockerfile. What it is, how to create one, and how to configure the basics to bring up your own Dockerized app.
docker build command processes this file generating a Docker Image in your Local Image Cache, which you can then start-up using the docker run command, or push to a permanent Image Repository.Creating a Dockerfile is as easy as creating a new file named “Dockerfile” with your text editor of choice and defining some instructions.
#
# Each instruction in this file generates a new layer that gets pushed to your local image cache
##
# Lines preceeded by # are regarded as comments and ignored
##
# The line below states we will base our new image on the Latest Official Ubuntu
FROM ubuntu:latest#
# Identify the maintainer of an image
MAINTAINER My Name “myname@somecompany.com”#
# Update the image to the latest packages
RUN apt-get update && apt-get upgrade -y#
# Install NGINX to test.
RUN apt-get install nginx -y#
# Expose port 80
EXPOSE 80#
# Last is the actual command to start up NGINX within our Container
CMD [“nginx”, “-g”, “daemon off;”]
$ docker build . -t <image tag name>
eg.$ docker build . -t premaseem/dockerimage
It is given where where is an error to attempt to update a field in unexpected or conflicting values mentioned in the payload.
For example, I am trying to update a user for some value, I do a get on it modified few values and pass it as PUT payload. Now by mistake I mis types userid, username or email with some other fields, now server cannot accept payload since it finds inconsistency or conflicts between some readonly fields like email, userid etc. so it will send a 409 Conflict http code.
409 is also thrown in case of version conflict:
For example, you may get a 409 error if you try to upload a file to the Web server which is older than the one already there – resulting in a version control conflict.
the Robustness Principle states “Be conservative in what you do [send], be liberal in what you accept.” If you agree philosophically with this, then the solution is obvious: Ignore any invalid data in PUT requests. That applies to both immutable data, as in your example, and actual nonsense, e.g. unknown fields.
Lets take an example, I have payload and there are few fields like id, username etc which are non writable. If someone sends them in PUT payload, I have 3 options,
I really dislike the equality check with 409 because it invariably requires the client to do a GET in order to retrieve the current data before being able to do a PUT. That’s just not nice and is probably going to lead to poor performance, for somebody, somewhere. I also really don’t like 403 (Forbidden) for this as it implies that the entire resource is protected, not just a part of it. So my opinion is, if you absolutely must validate instead of following the robustness principle, validate all of your requests and return a 400 for any that have extra or non-writable fields.
